Last Updated on October 23, 2026
Why Your Compost Stops Working in Fall (And How to Fix It)
A compost pile that goes cold in fall has one of four problems: it’s too small to hold its heat, it’s nearly all leaves and short on nitrogen, the rain has soaked it, or it has no air. Push your hand into the center: warm means look at nitrogen and water, cold means start with size. Cornell Cooperative Extension puts the fastest breakdown between 90 and 140°F, and below 90°F the process slows considerably.
This page is the written version of the video above. My compost is two pallet bins in the shade at the edge of the woods. Below: how to tell which problem a cold pile has, the fix for each, and the one I got wrong building my own bins.
The 4 problems at a glance
| Problem | What you see | The fix |
|---|---|---|
| 1. Too small | Cold in the center when you push your hand in | One pile at least 3 x 3 x 3 feet (4 is better), insulated with bales or leaves |
| 2. Not enough nitrogen | Big and damp enough, still just sitting; mostly leaves | Chopped vines, kitchen scraps, coffee grounds, grass clippings, buried in the leaves |
| 3. Too wet (or too dry) | Water runs out when you squeeze it, or it smells of rotten eggs; or bone dry | Too wet: fork in dry leaves and turn. Too dry: water while you turn |
| 4. No air | Wet leaves matted down like a lid, so air can’t get in | Turn about once a month while it’s working; stop once it’s frozen |
Where the heat comes from, and why fall shuts it down
The heat comes from billions of bacteria and fungi breaking down what you put in. As the pile cools they slow down, and if it keeps cooling, most of them go dormant. They’re not dead. They wait until it warms back up. The Cornell Cooperative Extension of Herkimer County master composter slides put it in four words: process dormant in winter.
A pile makes heat in the middle and loses it from the outside. Cornell’s fact sheet says pile temperature depends on the heat the microbes make against the heat lost through aeration or surface cooling. A small pile is mostly outside, so once it gets cold it can’t keep up.
Mine sit in the shade at the edge of the woods. Once a New Hampshire winter settles in, that pile freezes solid, and it doesn’t start working again until late spring. In full sun I think it would wake up weeks earlier.
The first check: push your hand into the center of the pile, down past the top layer. Warm in there means it’s alive and the problem is nitrogen or water. Cold means start with size. I’ve never used a thermometer. I lift the top of the pile and see steam, and put my hand in and it’s hot. That’s good enough for me.
Problem 1: The pile is too small
This is the mistake I made. I built two pallet bins and they’ve worked for years, but I built them too small. A bigger pile heats up faster and holds its heat longer. A small one is slow to get going, and in fall it never gets going at all.
Purdue Extension puts the minimum size for heat at about 3 feet by 3 feet by 3 feet, and UNH Extension calls that a minimum of one cubic yard. Cornell adds this for cold months: “piles may need to be larger than usual to minimize surface heat loss.”
- Building bins now? Go 4 feet instead of 3.
- Have a couple of small ones? Pile everything into one for the winter instead of spreading it thin.
Get the size right and Purdue says the center can reach 160°F, hot enough to kill some disease organisms and weed seeds.
Insulate it before it freezes
Oregon State University Extension suggests bales of hay or straw around the pile, set up before freezing weather, while the pile is still hot. No bales? A foot of loose leaves over the top does some of the same job, and leaves are what you have the most of right now. The Herkimer County slides finish a fall pile with an insulating layer of shredded leaves.
I don’t cover mine. I let it freeze and get back to it in spring. To keep yours going into December, you need a bigger pile and something around it.
Problem 2: Nothing but leaves
If the pile is big enough and still dead, look at what went in. In October it’s almost all leaves, and leaves are nearly all carbon. The microbes need nitrogen too, and in fall almost none is coming in. The Herkimer County slides list oak leaves at 47 parts carbon to 1 part nitrogen and maple at 52, and say a pile should be 30 to 1. Feed it nothing but leaves and the microbes run out of nitrogen and stall, cold or not.
Here’s what I add with the leaves:
- Tomato vines are the big one, plus squash vines and flower stalks. Chop them first. Thick, woody stalks take forever to break down whole.
- Kitchen scraps, coffee grounds and the last grass clippings. Bury them in the leaves, don’t leave them on top. NC State Extension says to bury food scraps in the center and cover them with browns.
- Not the tender greens. Spent kale goes to my chickens instead.
Don’t put every leaf in now. Bag some dry and keep them by the pile for spring, when the greens come back. UNH says it is best to stockpile brown material such as fall leaves near the pile. Shred what goes in: NC State says shredded leaves decompose more quickly and evenly than whole ones, and one pass with the mower is enough. Keep adding scraps all winter, even when they freeze. They sit on top until the thaw, and then the pile picks up where it left off.
You don’t need a starter. Iowa State University Extension says it is not necessary to add an inoculant or activator, since soil and finished compost contain the microbes. A shovel of finished compost does the job. To work out how many scraps your leaves need, use the compost ratio calculator.
Problem 3: The fall rain
An uncovered pile takes every October rainstorm. Wet leaves mat down like a lid and air can’t get in. University of Georgia Extension puts the target plainly: “To the touch, the compost pile should feel like a wrung-out sponge.” That’s roughly 40 to 60 percent moisture. Above that, water displaces air and the pile goes anaerobic and starts to smell. Below it, the pile dries out and goes dormant.
Grab a handful from the middle and squeeze. UNH describes the same test: damp, with only a drop or two of liquid. If water runs out, it’s too wet. If nothing comes out, it’s too dry. Your nose helps too. Rotten eggs means too wet with no air (NC State says a bad smell means too wet or short on air). Sharp ammonia means too much nitrogen, which you won’t see much in fall.
- Too wet: fork in dry leaves (that’s what the saved bag is for) and turn it to get air back in.
- Heavy rain coming: a loose tarp, sides open so air still gets in.
- Too dry (it happens under a roof or a tarp): water it while you turn it, the same as you’d water a bed.
Problem 4: No air, and when to turn
Turning is the part most people get backwards in fall. I turn mine several times while it’s still working. Once it’s frozen solid, I stop. There’s no point fighting a frozen block, and turning it then lets out what little heat is left. When it thaws in spring I turn it again, and every few weeks through the summer.
If you want a schedule, about once a month is plenty. Purdue says turning about every month or so evens out the heat and puts air in the center, and Cornell says turning renews the oxygen and makes the temperature rise. One caution for cold weather: every turn lets heat out. If the center is hot in November, check it with your hand and leave it alone to work.
How my two bins work
A viewer asked on my first compost video how the bins work. New material goes in the first bin. When it’s full, I fork it into the second bin. That move is the turn, and the first bin starts filling again. The second bin is where it finishes and where I take from.
Finished compost looks like dark soil. It’s crumbly, smells like good soil, and you can’t tell what it used to be, apart from a few twigs, which are fine. Purdue describes it the same way. Anything still chunky goes back to the first bin for another round.
Use this year’s compost before the ground freezes
Take whatever finished compost is in your last bin out now. I top-dress my beds with it in the fall, an inch or two on the surface, no digging. Rain and worms work it in over winter, and in spring the bed is ready when you are. The full routine is in empty raised beds in fall.
I get a couple of wheelbarrows a year out of my bins. It’s never enough for every bed, so every other year I order compost in. Open Google Maps, search “organic compost near me,” call the closest one and ask if they deliver. It costs less than bags and goes much further (my spring bed reset has what I paid for two yards). Ask for finished compost, not mulch and not loam. It’s a good sign if they can tell you what went into it. Spread it the same way, an inch or two on top.
Give the first beds the compost first
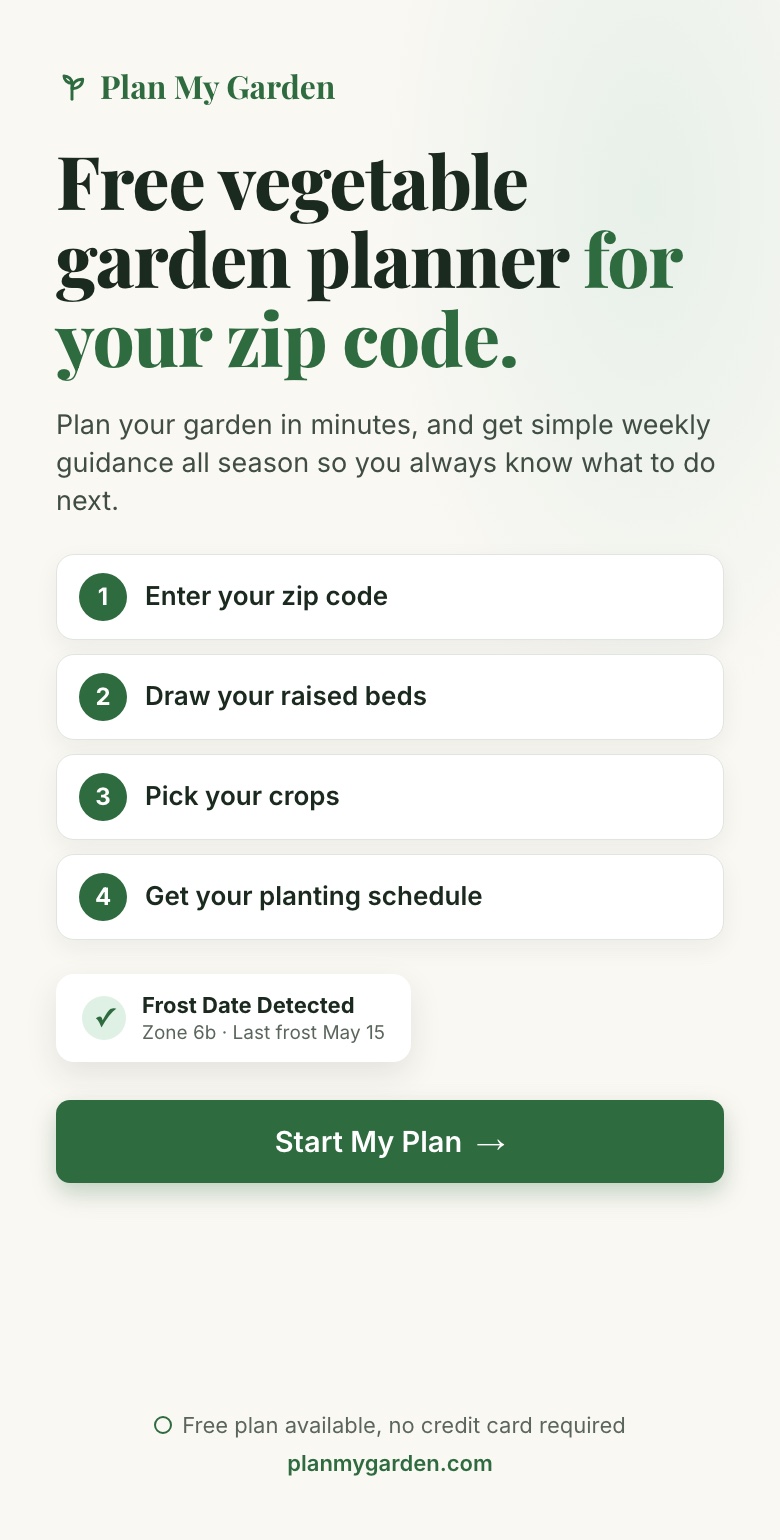
When there isn’t enough compost for every bed, start with the ones planted first. Plan My Garden is free to start: enter your zip code, draw your beds and pick your crops, and it places each plant at square-foot spacing and builds a planting schedule from your frost dates. Its planting dates show which crops go in first, so you know which beds to give the compost. Come spring you’re planting into finished soil instead of waiting on a frozen pile.
Quick questions
Why is my compost not heating up in the fall?
It’s too small to hold heat, too short on nitrogen, too wet, or short on air. Push your hand into the center: warm means check nitrogen and water, cold means start with size.
How big does a compost pile need to be to stay hot?
At least 3 by 3 by 3 feet, about one cubic yard, according to Purdue and UNH Extension. Cornell says cold-weather piles may need to be larger than usual, so go 4 feet if you’re building bins.
Should I turn my compost in winter?
Turn it in fall while it’s still working, about once a month. Stop once it’s frozen solid, since turning then only lets out what heat is left. Start again at the spring thaw.
How wet should a compost pile be?
Like a wrung-out sponge, roughly 40 to 60 percent moisture, according to University of Georgia Extension. Squeeze a handful: a drop or two is right. If water runs out, add dry leaves and turn it.
Related
- How to compost for beginners
- Compost ratio calculator: greens, browns and C:N
- What to do with fall leaves: 7 ways I use every one
- How to make leaf mold
- Empty raised beds in fall: two inches of compost and walk away