Last Updated on April 17, 2024
How To Grow Strawberries At Home In Pots or In a Raised Bed Garden For Beginners – 7 Easy Steps
Growing strawberries at home can be a rewarding and delicious experience. Whether you choose to grow them in pots on your balcony or deck, or in a raised bed in your garden, there are a few key steps to follow to ensure a successful crop. In this guide, we’ll go through How To Grow Strawberries At Home in seven easy steps.
Step 1: Choose the Right Variety
The first step in How To Grow Strawberries At Home is selecting the right variety. There are several different types of strawberries you can choose from, each with its own unique characteristics. The three primary types are:
- Summer fruiting, also known as June-bearing varieties, produces a single harvest mostly in June but can continue producing into July. These are affected by day length.
- Day-neutral, also known as ever-bearing varieties, are not affected by day length and produce fruit mid-summer through fall.
- Alpine strawberries, are also day-neutral and can be grown from seed. They are great for pots and produce tiny, tasty berries over a lengthy period.

Step 2: Decide How to Start Them
There are three options for starting your strawberry plants: seeds, bare roots, or live plants.
- Starting from seeds means you’ll need to start them indoors and transplant them out.
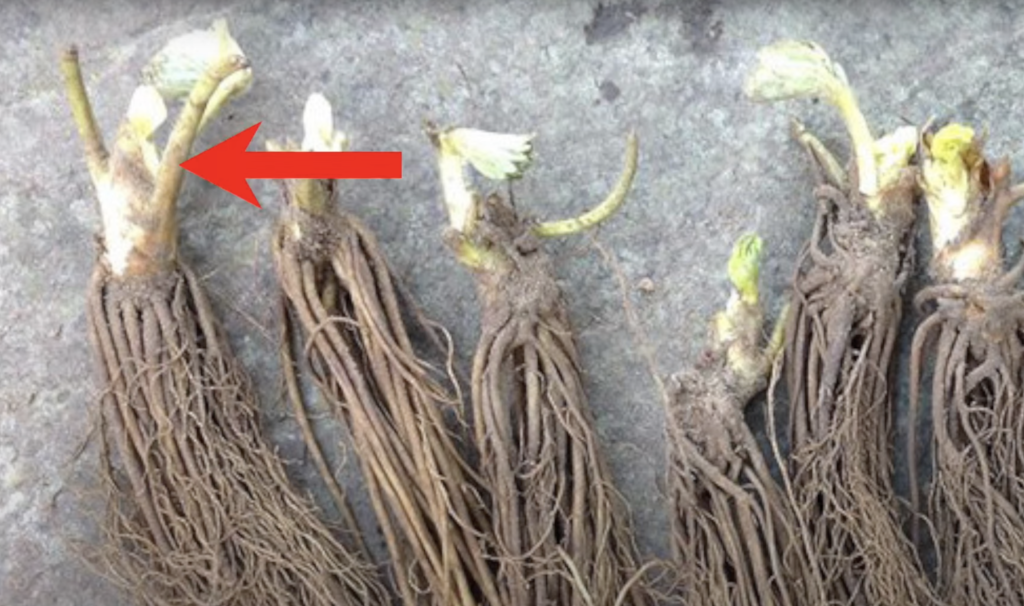
- Bare roots are live roots that you get from a mail-order catalog and plant right away in pots or in the garden.
- Live plants can be found at a nursery and transplanted into your garden or pots.
For June-bearing or ever-bearing varieties, the best method is to purchase already started plants at a nursery or buy bare roots at a seed-starting catalog. For alpine strawberries, it’s best to start with seeds, although you may be able to find some at a nursery that is already started.

Step 3: Choose the Right Location
Strawberries need fertile soil that is well-drained and receives plenty of sunlight. If you’re growing them in pots, make sure to use a potting mix specifically designed for strawberries. It’s also important to provide proper drainage, as strawberries do not tolerate wet feet.
Step 4: Plant Them
For bare-root plants, transplant them into the garden or a pot as soon as received.
For large plantings, planting multiple varieties that fruit at different times will provide a longer harvest. When planting them in the garden, it is best to keep them contained to a single area or bed, planting one per square foot.
Do not plant the bare roots too deep; the soil level should be slightly below the crown.
Planting on a mound is preferred because it helps with drainage and prevents most of the fruits from laying directly on the soil. Mulch with straw or dead leaves as soon as planted.
For alpine strawberries, start them indoors about eight weeks before the last expected frost in seed-starting flats with a seed-starting mix. Keep them moist and at a constant temperature of 60-75°F. Up pot them to four-inch pots once they develop two sets of leaves.

Step 5: Provide Proper Care After Planting
Some say to pull off all the flowers the first year to encourage the plant to put energy into becoming more established and putting more energy into the roots.
I didn’t do this and I had some berries the first year and more the second year and third years.
However, make sure that you cut off any new runners before the daughter plants could get established these daughter plants leech energy out of the main plant so it’s important to keep things tidy.
Step 6: Protect Your Plants & Harvesting.
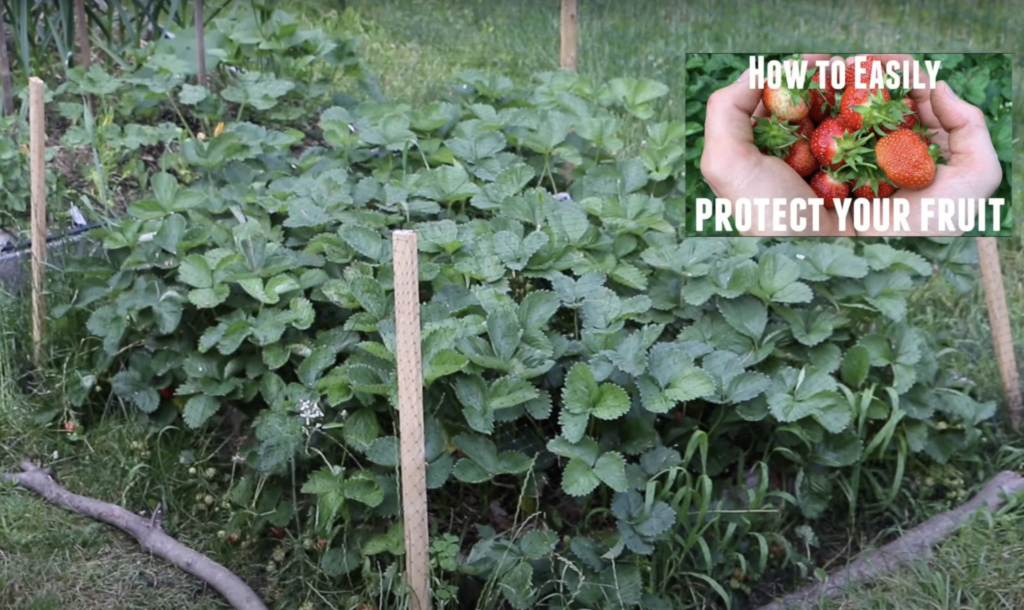
As soon as fruit sets in, critters may be interested in your delicious fruit. Covering with netting may be necessary to prevent them from being gobbled up. See my detailed video here on how to protect berry plants. Harvest when fully red and before they turn very dark. Slice and freeze if you have extras.

Step 7: Preparing Strawberry Beds for the Winter
At the end of the year, remove all runners and mulch the plants with straw or shredded leaves. In the spring, pull back the straw to leave the plants exposed but leave the mulch in between the plants to suppress weeds. Healthy plants can be productive for three to five years if kept tidy.
Thinning Out Your Strawberry Patch In The Spring
Thinning out your strawberry patch can help improve the overall health and productivity of your plants, resulting in larger and tastier berries. Here are some steps you can take to thin out your strawberry patch:
- Wait for the right time: The best time to thin out your strawberry patch is in the early spring, when the plants start to grow new leaves. This is usually around April, after the threat of frost has passed.
- Observe your plants: Take a look at your strawberry plants and assess their overall health and vigor. Look for plants that are small, weak, or diseased, as these are likely to produce smaller and fewer berries.
- Remove excess plants: Using a sharp knife or pruning shears, carefully remove excess plants from the patch, leaving about 6-8 inches of space between each plant. Be sure to cut the plants close to the ground to avoid damaging the roots.
- Remove Excess Weeds: Remove any weeds that may have survived over the winter then mulch.
- Mulch in the Spring: Don’t forget to mulch. Mulching your strawberry patch in the spring can also help improve the health and productivity of your plants. Mulch helps to retain moisture in the soil, suppress weeds, and regulate soil temperature. There are several types of mulch that can be used in a strawberry patch, such as straw, wood chips, or grass clippings. Simply spread a layer of mulch around the base of your plants, leaving a few inches of space between the mulch and the plants to allow for proper air circulation.
- Monitor the patch: Keep an eye on your strawberry patch throughout the season. If you notice any new runners or excess plants growing, remove them as needed to maintain proper spacing and allow room for the remaining plants to grow and thrive.
Note: Mother nature may take care of thinning out your strawberry patch for you. Some of the runners may not survive the winter and will die off in the spring. If you notice any dead runners, be sure to pull them out to make room for the healthy plants.
Need help planning your square-foot garden? No problem – we’re here to help.
Ready to plan your square-foot garden in minutes? With our easy-to-use tool, you can enter your zip code, draw your layout, and choose the plants you want to grow. We’ll send you a custom visual schedule, getting started guide, and plant layout specifically tailored to your square foot garden. Plus, you’ll receive a growing guide for each vegetable to help you get the most out of your garden. Don’t wait – get your custom square-foot garden plan today and start growing!
Frequently Asked Strawberry Questions
Q: What are the different types of strawberries that can be grown at home?
A: The three primary types of strawberries that can be grown at home are summer fruiting (also known as June-bearing varieties), day-neutral (also known as ever-bearing varieties), and alpine strawberries.
A: The options for starting strawberry plants are seeds, bare roots, or live plants.
A: Strawberries need fertile soil that is well-drained and receives plenty of sunlight. If growing in pots, use a potting mix to ensure proper drainage.
A: For bare-root plants, transplant them into the garden or pots as soon as received. Plant them in a single area or bed, one per square foot. Do not plant the bare roots too deep; the soil level should be slightly below the crown. Planting on a mound is preferred to help with drainage and prevent the fruits from laying directly on the soil. Mulch with straw or dead leaves as soon as planted. For alpine strawberries, start them indoors about eight weeks before the last expected frost in seed-starting flats with a seed-starting mix. Up pot them to four-inch pots once they develop two sets of leaves.
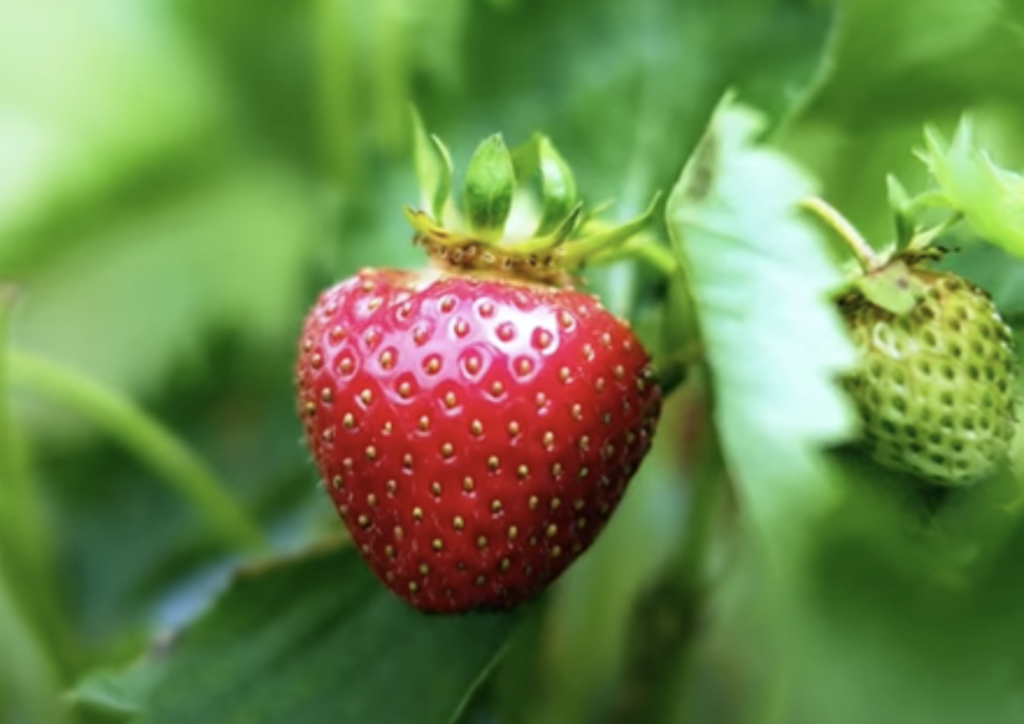
A: Strawberries should be picked when they are ripe, which is typically when they are fully red and have a glossy appearance. They should be gently removed from the plant by twisting and pulling them off.
A: In the fall, after the strawberries have finished producing fruit, the bed should be cleaned up by removing any dead leaves and plants. The bed should then be mulched with straw or dead leaves to protect the plants over the winter. In the spring, the mulch should be removed and the bed should be thinned out as needed.


