Last Updated on August 18, 2024
How to Start Seeds Indoors in 10 Easy Steps
How To Start Seeds Indoors – Starting seeds indoors can be a great way to get a head start on your growing season and save money on purchasing plants from a nursery. In this guide, we’ll go over the 10 key steps to growing seeds indoors, as well as some common mistakes to avoid.
1. Gather the necessary supplies
You’ll need containers for your seeds, a plastic tray to hold the containers, a cover to keep them moist, markers for labeling your seeds, and seed-starting soil.
Tools You Need (see links here for recommended items below)
- Organic Seed Starting Mix
- Grow Light (If no full sun, south-facing windows)
- Seed Cells
- Plant Tray
- Seeds
- Saran Wrap/Plastic Wrap
- Plant Markers
- Bucket or Pot
- Pencil
2. Choose the right seeds.
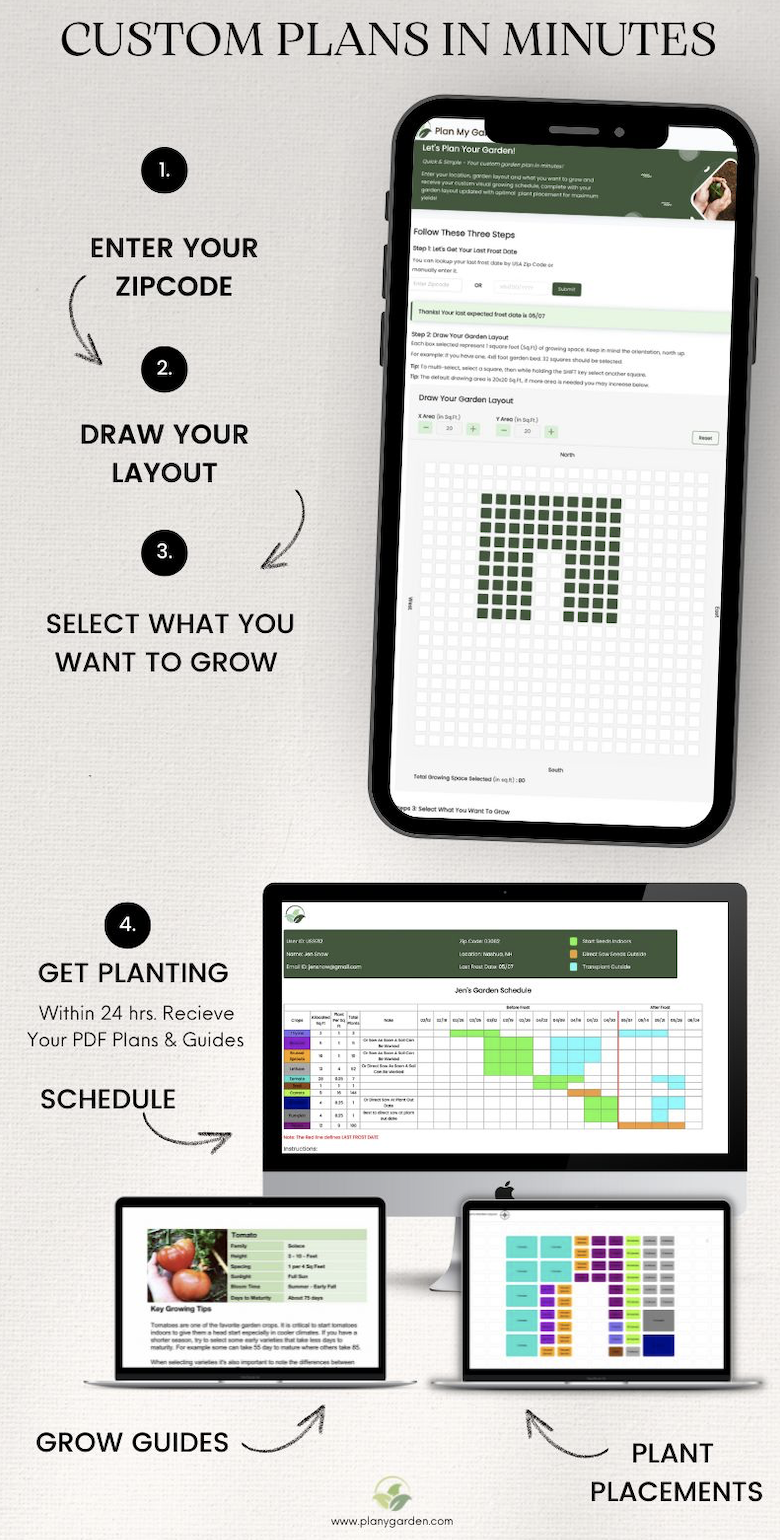
To ensure the best chances of success when starting seeds, it’s important to use fresh, high-quality seeds. Seeds typically have a shelf life of a couple of years before their germination rates start to decline, so be sure to check the expiration date before planting. It’s also important to start your seeds at the right time, as planting them too early can result in transplants that are too mature. To determine the optimal time to start your seeds, you can use our innovative planning service PlanMyGarden, which will help you plan your garden based on your specific location and climate. By using fresh, high-quality seeds and starting them at the right time, you can help ensure that your seedlings grow strong and healthy. I recommend High Mowing Organic seeds.
3. Fill your containers with seed-starting soil.
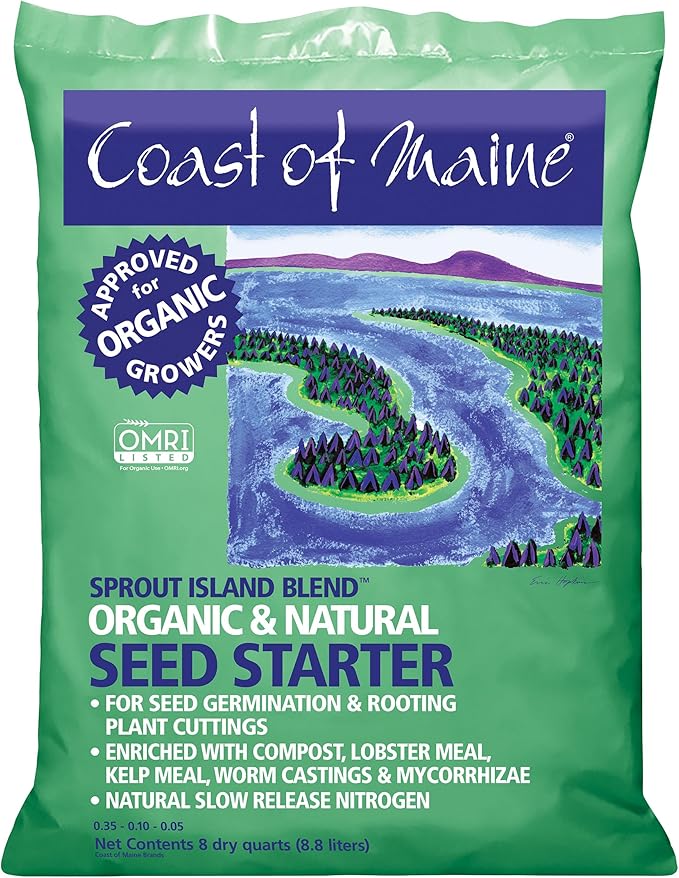
Using a high-quality seed starting mix is key to giving your seeds the best chance of success. Look for a mix that is rich in nutrients, as this will help support the growth and development of your seedlings. The Coast of Maine brand is a great option, as it contains lobster meal, kelp meal, and compost – all of which are excellent sources of nutrients for your seeds. By using a nutrient-rich seed starting mix, you can help ensure that your seeds have everything they need to germinate and grow into healthy, strong plants. So don’t skimp on the seed starting mix – invest in a high-quality product, and your seeds will thank you. You can find the Coast of Maine brand here. Once you have your seed-starting soil place the pot or bucket in your sink, and add the seed-starting mix. Water lightly and mix so you have a moist mix.
4. Plant your seeds according to the instructions on the seed packet.
Fill each cell with the mixture and make an indent in the center of each cell with a pencil. Plant two seeds in each cell. Following the recommended planting depth is crucial when starting your seeds, as it can greatly impact the success of your seedlings. Each type of seed has specific planting depth requirements, and these guidelines are provided on the seed packet. By following the recommended planting depth, you’ll ensure that your seeds are placed at the optimal depth for germination and growth. This can help increase the chances of success and give your seedlings the best start possible.
5. Label your seeds.
Proper labeling is an important step in the seed-starting process, as it can be very easy to forget what you planted. Use plastic markers or popsicle sticks and a pen to label each container with the name of the plant and the date you planted it. By doing this you’ll have a clear record of what’s growing in your seedlings tray. This can be especially helpful if you’re growing a variety of plants, as it can be difficult to keep track of them all. Additionally, labeling your seeds will help you track their progress and know when it’s time to transplant them into the garden or larger pots. So don’t skip this step – it may seem small, but it can make a big difference in the success of your seedling.
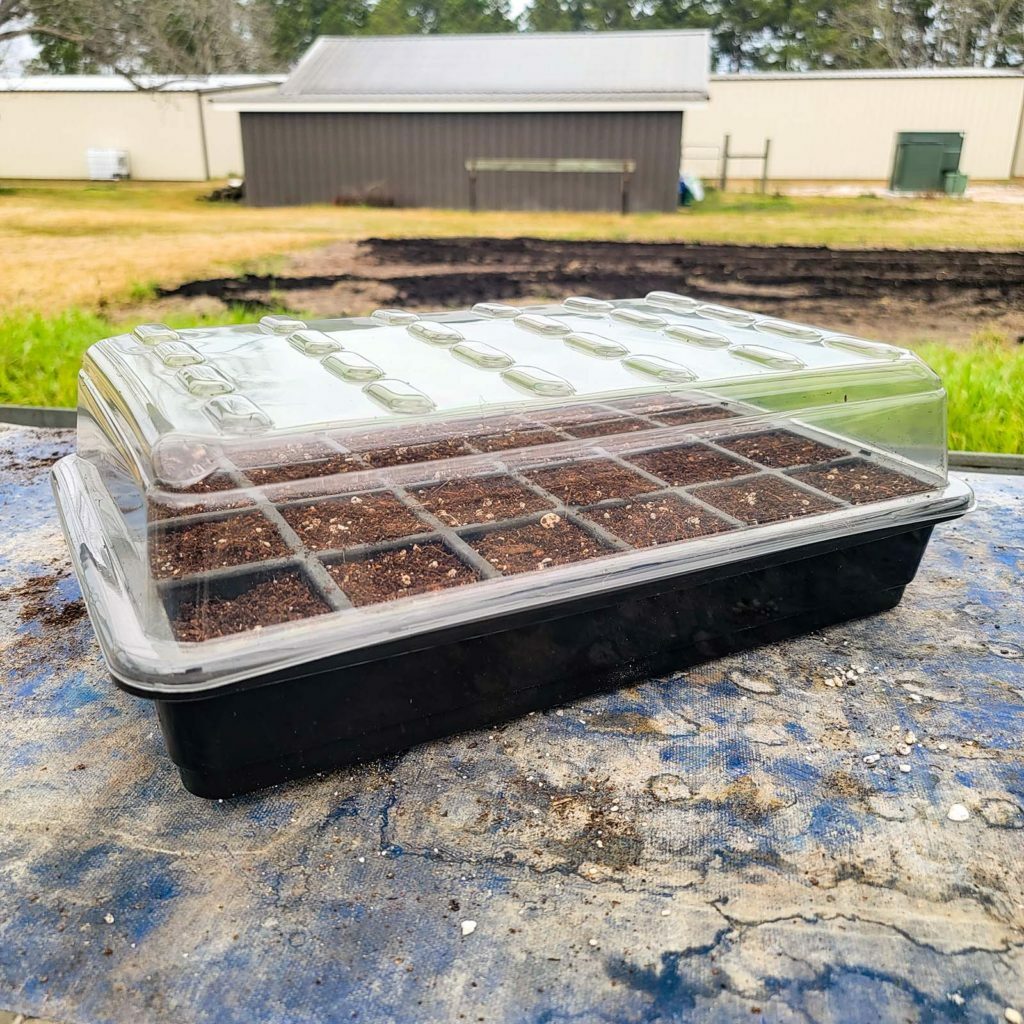
6. Cover your seeds with a plastic dome or saran wrap to keep them moist.
Place them in a warm area and remove the cover as soon as the seeds start to germinate. You may decide to use a heating mat with a controller to help the seedlings germinate. See our vegetable seed germination chart and details on how to use a seed mat effectively. For Seed Matt, Controllers, and Seed Trays I recommend Hoss Tools.
7. Place your seedlings in a sunny location.
When it comes to growing seeds indoors, proper lighting is essential. Most seeds need plenty of light to grow and thrive, and without it, they may struggle or fail to germinate. In general, seedlings require at least 6-8 hours of direct sunlight per day or 12-16 hours of artificial light from grow lights. If you don’t have access to a sunny spot, using grow lights can be a great way to provide your seedlings with the light they need. When using grow lights, for general guidance, it’s important to place them close to the seedlings, about 2-4 inches away, and to keep them on for 12-16 hours per day. By providing your seedlings with the right amount of light, you can help ensure that they grow strong and healthy.
If the plants are flopping over, and look “leggy” they are not getting enough light. For Grow Lights, I recommend Mars Hydro for LED lights – You can use code OBG for 3% off your order.
8. Water your seeds regularly.
To keep your seedlings healthy, it’s important to water them regularly. However, be careful not to overwater, as this can cause the seeds to rot. After the seeds have germinated, the best way to water the seedlings is to pour water into the tray and allow the seedlings to absorb the water through the holes in the bottom of the cell trays. This helps to ensure that the soil stays moist without becoming waterlogged. By following these simple watering tips, you can help your seedlings grow strong and healthy.
9. Thin out your seedlings as needed.
After your seeds have germinated and sprouted into seedlings, it’s important to thin them out to ensure that each cell only contains the strongest seedling. This will give your plants the best chance of survival and allow them to grow to their full potential. To thin out your seedlings, carefully snip off the weaker seedlings at the soil level, leaving the strongest seedling to grow. Be sure to leave enough space between the remaining seedlings to allow them room to grow and thrive. Thinning out your seedlings is a simple but crucial step in the seed-starting process, and by following this practice, you can help your plants reach their full potential.
10. Transplant your seedlings into the garden or larger pots when they are ready.
When to Transplant – The schedule you receive from the PlanMyGarden service will tell you exactly when the best time is to plant out your seedlings. You’ll want to ensure you transplant warm-weather crops after your last expected frost, and cooler-weather crops can be planted out sooner based on their frost tolerance. You may also want to transplant seedlings to a bigger container if they are starting to outgrow their current pot, as you don’t want the seedlings to become rootbound. An easy indicator of this is if the roots start to circle the inside of the pot.
Hardening Off – Before transplanting into the garden, harden them off a week before transplanting. To do this, move them outside on a shady day for a couple of hours. Gradually increase this time and slowly expose them to full sun. This will prevent transplant shock. Do not expose to direct sun right away. For more helpful information on this see my guide on how to transplant seedlings into the garden.
Seed Starting Can Be That Easy!
Starting seeds indoors can be a fun and rewarding way to get a jump start on your gardening season. By following these 10 easy steps, you can successfully grow a wide variety of plants from seeds. And if you need help with planning, the PlanMyGarden service can help you create a custom garden plan specific to your garden layout and climate.
Seed Starting Supplies Links:
- High Mowing Seed Starting Kit (Tray, Cells, Dome & Organic Soil $20)
- High Mowing Organic Seeds
- High Mowing Wooden Labels
- Hoss Tool Heat Mats, Controllers, Trays, and Domes
- Amazon: Coast Of Maine Organic Seed Starting Mix
Helpful Raised Bed References
- Build: My Article – How to Build a Raised Bed with Drip Irrigation
- Buy: Garden in Minutes easy-to-assemble raised beds and grid watering systems perfect for square foot gardening – Use code OBG10 – $10 off orders $100+
Need help planning your square-foot garden? No problem – we’re here to help.
Ready to plan your square-foot garden in minutes? With our easy-to-use tool, you can enter your zip code, draw your layout, and choose the plants you want to grow. We’ll send you a custom visual schedule, getting started guide, and plant layout specifically tailored to your square foot garden. Plus, you’ll receive a growing guide for each vegetable to help you get the most out of your garden. Don’t wait – get your custom square-foot garden plan today and start growing!
See How It Works